Tuesday, March 14, 2023

Papo Secos

 I feel like there are a couple of ultimate goals you want to reach in Portuguese baking.

1. Massa

2. Malasadas

3. Papo secos

I was finally able to check off that LAST one!

I don't know why this was always so intimating to me, but myself and my husband finally said ENOUGH, we are doing this!  

One of the main things that scared me was how many each recipe or video made.  I didn't need 4 dozen papo secos without knowing if the recipe was right or not.  So when I finally narrowed it down to make 8 at a time, it felt like it was less daunting.

Heres a couple photos of the process and then of course the recipe card at the bottom.

I hope you give this tradition a try with your family and keep the Papo Secos alive!


Monday, July 27, 2020

FUSION: Remake alert! Portuguese Egg Rolls IN THE AIR FRYER!

So as you may or may not know, we have done the Portuguese Egg Rolls before, but now with an air fryer, we can make it healthier and faster! Which I know we could all use.


I also went ahead and tweaked it a little bit to make it even better.


Portuguese Egg Rolls-Air Fryer


1 lb. of Michael's ground chourico (BUY IT HERE)
2 red bell peppers, chopped
2 onions, chopped
2 teaspoons of Corisca Pimenta Moida (BUY IT HERE)
1 teaspoon of chili powder
1 teaspoon of cumin
1 teaspoon of garlic powder
1 package of Topo Queijo Sao Jorge, Shredded (BUY IT HERE)
1 packages of Egg Roll Wrappers (these are found in the product section in the fridge part-usually where you find the hummus and stuff)
Egg Wash


1. Heat your skillet to med-high heat. Once hot add your bell peppers and onions. Cook until tender. about 7 minutes. Add in your ground chourico
2. Add in your spices and pimenta moida, turn skillet to low and allowed to cook together for about 10 minutes, to get all the flavors to melt together.
3. LET IT COOL! This is important, or you will have a mess!
4. Put the mixture in a blender and blend until you have a paste.
5. Now it's time to start making your egg rolls. Put one done and spoon about 1-2 tablespoons of the paste on the egg roll wrapper. Top with your cheese. Now put a little of the egg wash on your finger and rub it on the edges of the wrapper. Fold the ends in and then roll until your egg roll is created.
6. Put your rolls in the Air Fryer (400 Degrees) for about 10 minutes. If you want a nice golden crisp look, you can spray with Olive Oil to get that look. For myself, it was just going to be eaten right away, so I wasn't cooking for looks!
7. Pull them out and let cool for a few minutes.


Sunday, July 19, 2020

FUSION: Queijo Sao Jorge & Chourico Mac and Cheese

Many years ago on this blog I made chourico mac and cheese for Fusion Friday, and I had mentioned wanting to remake my recipe with Sao Jorge cheese.
Well I finally did it.  I also tweaked the recipe a bit as well, and I think it's got a great balance now, and a little less work using ground chourico.

Without further ado, here you have it! I have linked places to buy the products I used for those who do not live in an area that is easy to get these products.   Our friends, the Portuguese Kids, have made it as easy as possible for everyone to get their Portuguese favorites!


Queijo Sao Jorge & Chourico Mac and Cheese


1 pkg of elbow macaroni (or your favorite pasta shape will work!)
1 lb of ground chourico (We love Michael's!)
1/4 cup of butter
1/3 cup of flour
2 1/2 cups cream (or milk if you want to lighten it up)
4 oz. Topo Sao Jorge Cheese-shredded + 2 oz shredded to melt on top
8 oz. of Extra Sharp cheddar-shredded
1 teaspoon of kosher salt
1 teaspoons of Corisca pimenta moida (Corisca is spicy!  and delicious!)

1. Cook macaroni to the directions on the box, once done reserve about 1/2 cup of water for sauce.  Pre-heat oven to 400 Degrees
2.  Melt the butter on med-low heat.  Once melted add in the flour and whisk until smooth.  Let it cook for a minute or two to break up the starches. 
4.  Whisk in cream slowly.  Continue to whisk until smooth.  Add in salt and pimenta moida and whisk.
5. Add in cheese and continue to stir until completely melted.  
6.  Add in chourico and let it simmer on low for about 3-4 minutes.
7.  Add cheese sauce to macaroni and combine completely.  If your sauce is too thick, add in some of your reserved water until the sauce is the consistency you'd like.
8.  Once completely mixed, put into a 9x13 pan and top with Queijo Sao Jorge and bake for about 10-15, just enough to get your cheese nice and melted.


And here is the recipe card for you :)


Saturday, July 11, 2020

Travesseiros

piriquita - Picture of Piriquita II, Sintra - Tripadvisor
Ola Amigos!
I know, it's been a long time since anyone has update this blog, and I'm sorry.  Work, family, friends, travel and more got in the way.  
The thing is with this blog, it's so hard to nail down the moms!  As you know we have always watched what they do, and translated it into English (and with measurements!  a handful doesn't work for some people, we know!), but I'm sure like any parent, you get "farto e cheio" (if you don't know, google!) of your kids in your face.  So I stopped asking to be honest.  I still cook and bake, but nothing like I did before, but that's it.  I'm putting my foot down.
I'm here and I tried something totally new.  And took it from a completely Portuguese recipe (measurements and oven temps and all!)  and made it alone (well, I shouldn't say alone, hubby helped me de-skin almonds for about 45 minutes!)

Last year I had the privilege to lead a few groups for work (I am a Travel Advisor for Sagres Vacations and we specialize in Portugal and Spain) to Portugal.  In 3 months, I went to various parts of Portugal 3 times!  It was a lot, but it was a blast!

During the trip in July, I was lucky enough to be on the mainland of Portugal, (add it to your bucket list!) with the Portuguese Kids for their annual group trip.


The trip was amazing and I am so happy I got to finally head to the mainland to see some of the sights that I have only read about.  It was a completely different experience from the islands, and I would never even compare the two. (I was also lucky to go on a multi-island tour of the Azores, I'll share those pictures with you soon!)  The group of 31 was amazing, and we had a great time!  So much so, that several are signed back up to go on groups with us again this year!  (Before the dreaded Corona happened 😠)

While on the trip to the mainland I was able to get to Sintra, and got to try their famous Travesseiros de Sintra.  Pillows of just sugar, eggs and almonds that make my mouth water just thinking about them!  Today, I looked at my husband and said "it's time to make the travesseiros".  To be honest, I've been nervous to make these because I hate working with Phyllo Dough.  Today I had enough with the fear and I dove in.

So here you go!
Travesseiros.
And truth be told, this was so easy!

Saturday, June 4, 2016

Serradura


Serradura-Sawdust Pudding

Ingredients 
•30 Maria Biscuits
•2 cups of chilled Heavy Cream
•1 tsp. vanilla extract
•1/2 cup of sweetened condensed milk (1 can)

Directions:

1. Put the Maria Biscuits into the food processor to get a fine powder out of the cookies
2. Whip the cream with vanilla extract with an electric beater to soft peaks.  Then and half the condensed milk. 
3. Continue whipping and add the rest of the condensed milk slowly. Keep beating till until you get stiff peaks. 
4. Transfer the cream into a piping bag and pipe (or spoon the cream if you can do it neatly) it equally between 4 serving glasses, alternating layers of cream and Maria Biscuits. 
Finish of with cream as the topmost layer. Refrigerate for at least 4 hours or until you are ready to serve the Serradura.


Saturday, February 1, 2014

"Amigo" Post!

We toyed with this idea for a while, and finally decided to pull the trigger.
Here is our first submission from a fan.  We asked those interested to write out the recipe, take photos, and write a little something about it.
Here is Liz's recipe, story and photos!
Thanks again Amiga!!

"I didn't grow up in a neighborhood with other Portuguese families, but I was surrounded by my family, our language, our traditions and beliefs, and of course...the food!  While all the other kids on the block were eating Kraft dinner, Chef Boyardee and Zoodles, I was eating my mom's pasta sauce...fresh and homemade, just like she does everything.
 
The smell of onions frying in her small penela would send me on the hunt for the tell tale pasta.  Once I spotted it, I would await in delicious anticipation of the thick red gravy laden with onions that I would dig to the bottom of the pot for.  No matter what my mom served her pasta with - the pasta was always the highlight and I always saved it for last.
 
As it happens with little Portuguese girls, I grew up and soon became a wife and mother.  I've always loved to cook, but always seemed to go home to moms or Vavos if I wanted some home cooking.  Tasked with the job of meal planning along with running a house, I would find myself cycling through the same meals....over and over and over.  I do believe I had myself convinced I couldn't cook like my mom until one day I was craving my grandmothers soupa and I called her for her recipe and well, well, well, turns out I can cook as good as my elders ;).
 
When it's cold out, that's when I crave this meal, it's my ultimate comfort food that takes me back to our duplex on Culver Street where I had the best of both worlds - mom and dad on the main floor AND my grandparents upstairs.  I always hear my grandfather's laugh when I'm eating this, I think it makes it taste even better!!!
 
I usually don't have any calde de pimenta on hand, so I just make my own.  I realize there is a specific type of pepper used for this, but my mom also taught me to use what I have on hand in a pinch.  So I take a seeded and chopped red pepper, strain the majority of the juice off and add salt and olive oil to taste


Hi...my name is Liz and I'm an onion-a-holic!!!  Seriously!!!  My mom says to take one onion and 3-4 cloves of garlic and fry in a good quality olive oil, but I always double up on the onion.  I have also found that her original instruction are just barely enough for me and my husband.  We love to have it two days in a row, and on day two, I do believe it tastes better, so I double her recipe for good measure.


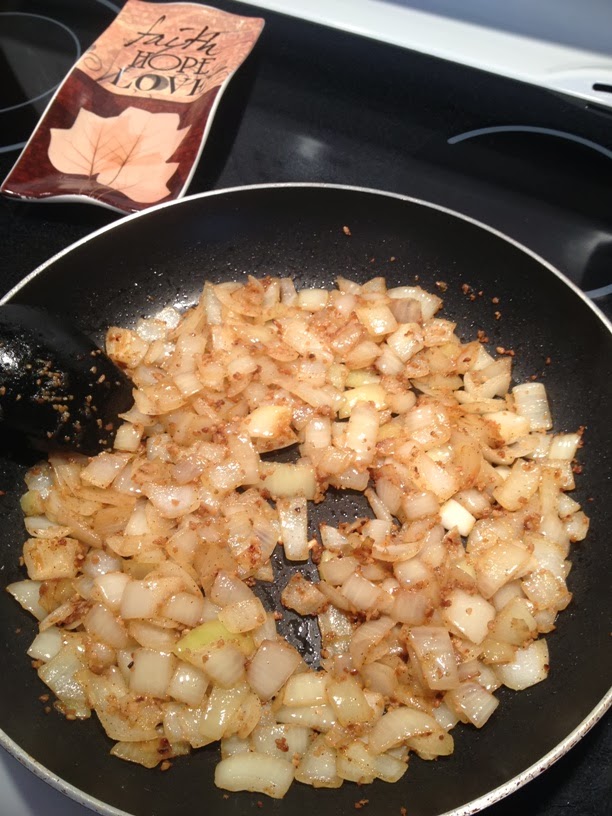
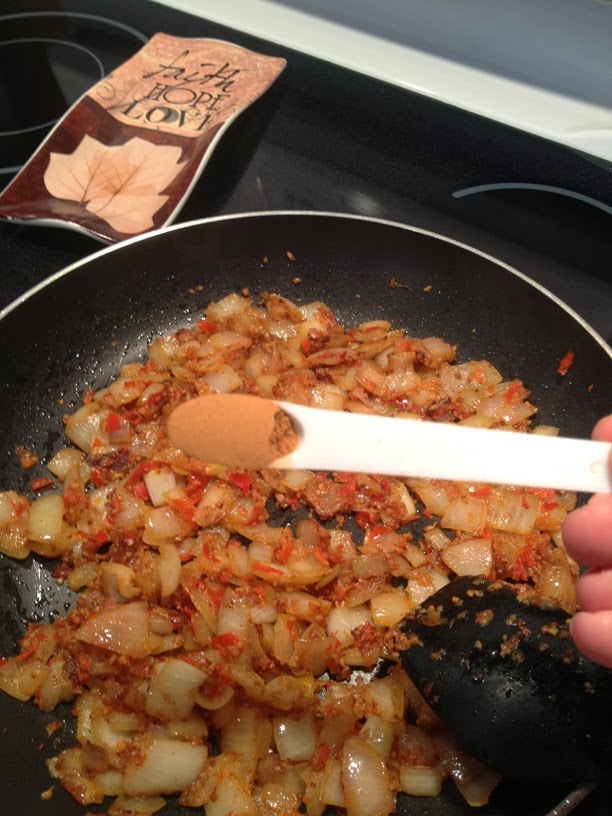
Saute onions and garlic in olive oil until the onions are cooked but still maintain a crunch if that is to your taste.  If you prefer them carmelized...that works too!!! Add salt and pepper to taste along with the calde de pimenta and cinnamon and fry on medium low, always stirring, stirring, stirring.  This is about how I like my onions done, about 8-10 minutes


Smelling like my moms kitchen now.  I can still see her burgundy pot set that cooked thousands of delectable meals for us.  Cinnamon is one of my moms (and now my) favorite spices to use.  We add just a hint to hamburger dishes to give it that eu nao sei flare that gets people thinking while they're eating - "O!!!  That's a lovely hint of...hmmm....what is that???"  Ancient Portuguese recipe ;)


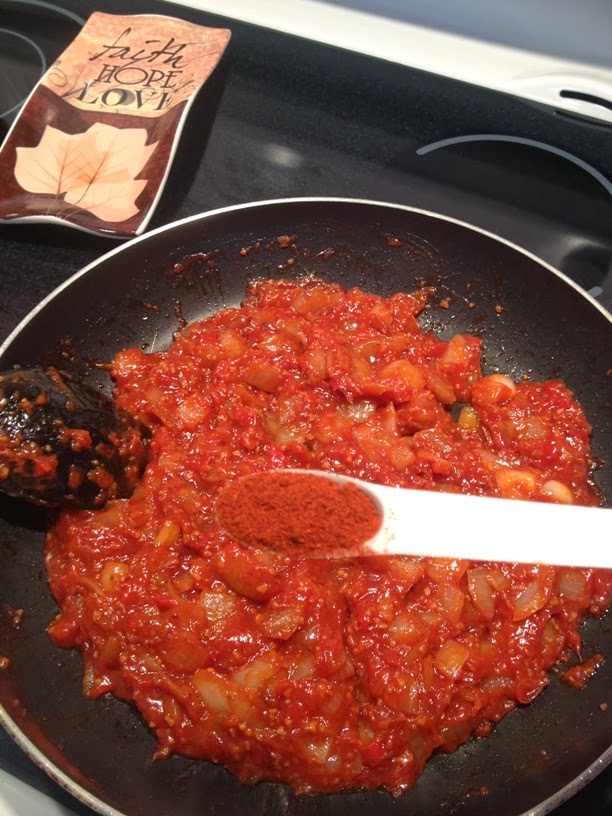
Stir until heated through and aromatic.  Now add the ketchup...when my mom first told me she laughed at the look on my face.  Ketchup???  Really???  Who would've thunk???  I have made homemade ketchup in the past and it was spectacular!!!  I think I will grow some extra romas this year and reserve some Kischook Ketchup especially for this recipe.  My mom advises that you can also use tomato paste interchangeably for the ketchup.  Personally, I think the ketchup has more flavor from the spices added to it...again...it's all up to your own taste.  I do think that tomato paste would be better as a diabetic option if you're loved ones have this ailment as ketchup is unfortunately loaded with sugars. 


Add the paprika and allow to heat through.  My mom says it's extremely important to ensure to cook this on low heat as the sugars in the ketchup and the paprika itself will burn very easily. While I love any and all things caramelized, I don't think paprika would top the list...um...no!


Keep mixing all the goodness together until it bubbles just a little, you can add a touch of water if you don't prefer your sauce thick.  I've never had a problem with thick sauce, however, it will make the sauce cover more pasta, if you really want to add a layer of flavor, try a little chicken or beef stock instead of water.  I keep homemade stock by freezing it in an ice cube tray then transferring it to a Ziploc bag.  The small quantity of the cube gives me more control over the amount I add to my recipes and sometimes...I use those stock cubes for cooling off soup without watering it down like normal ice cubes would.  I do believe my husband and I may try to thin this with a bit of wine and cook it off to see how it affects the flavor profile.  An old friend did tell me many times that a recipe is just a guideline....


This night....served up with meatballs mmmmmmm...ENJOY!!!


Here's the full recipe and directions...
 
1 - 2  tbsp olive oil
1 - 2 medium onions, chopped (I always use two...you be the judge)
3 - 4 cloves garlic, minced
1 tbsp calde de pimenta
salt and pepper to taste
1/4 tsp cinnamon
1/2 - 1 cup ketchup (I always use one cup as I like my pasta saucy)
1 tsp paprika
 
Saute onions and garlic in olive oil to desired doneness.  On medium low add calde de pimenta, salt, pepper and cinnamon for a few minutes to allow to heat through.  Turn heat to low, add ketchup and paprika, again allow to heat through.  Mix into hot oiled pasta or serve hot on top of pasta.  Bom appetite!!!!"

Saturday, January 4, 2014

Crockpot Tomato Soup


Ingredients:
1/4 cup of olive oil 
1/4 cup Portuguese red wine or a dry red
1 onion chopped
1 pound tomatoes chopped
1 bay leaf
1 1/2 cups milk
1/4 cup stelline pasta (small stars)
s+p to taste


  1. When crockpot has been heated to high add oil, onions and s+p. Let the onions soften.
  2. Now add tomatoes, red wine and bay leaf.
  3. Season with salt and pepper.
  4. Let cook for 5-6 hours on low. If it thickens too much add water. 
  5. Discard the bay leaf and blend with an immersion blender or pour into blender if you don't have one. 
  6. Process until smooth.
  7. Add your small pasta stars and let the soup continue to simmer for another 15 minutes. 
  8. Lastly stir the milk in until combined.
  9. Add salt and pepper to taste.
  10. Pour into bowls, garnish with the parsley, serve and enjoy!